


Skip to Content Skip to Navigation
Menu
My Idea Boards

Thunbergia Privacy Wall

 
DIY

Thunbergia Privacy Wall


Even if the next door neighbors are great, a bit of extra privacy in our garden can really boost the weekend relaxation level. And privacy walls don't have to be ugly! Learn how to make a living privacy wall with vigorous and beautiful thunbergia.

Materials

  • For the vertical posts: Two 8′ long 4”x4” posts.
  • For the crossbars: Two 6′ long 1”x2” beams
  • Metal brace pieces: Four 1” wide braces to hold crossbars.
  • Decorative post caps for tops of vertical posts
  • 200 feet of coated garden wire
  • Cement mix

Tools

  • Drill + phillips head bit
  • Wood screws
  • 24 Eye screws
  • Measuring tape
  • Wire cutters
  • Shovel
  • Level
  • Mud Mixer or Stick
  • Large Bucket or Wheelbarrow for mixing cement
  • Metal brace pieces: Four 1” wide braces to hold crossbars.

Tips

This project is easier done with 2+ people. While you can do this yourself, leveling, and setting posts in concrete is much easier with a helper. With three people, the process is even easier since the assembly of the wood frame can be done prior to sinking it in the ground.

Work on a level area.
Sinking posts to achieve the same post height is much easier on a level piece of ground.

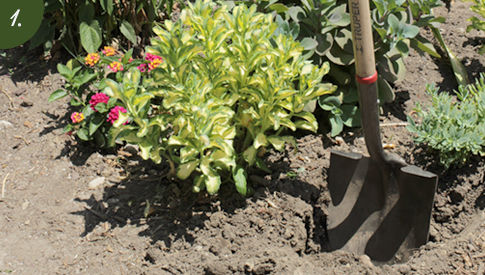
Dig Post Holes
Dig Post Holes
Use a measuring tape to estimate the correct distance between your posts. The distance between them should account for 6 foot long crossbars that will sit in metal braces mounted to the posts. The post holes you dig out should be about about 2 feet deep, and wide enough to hold some cement around the posts.
Mix Cement
Mix Cement
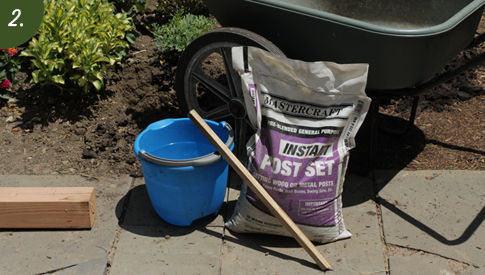
Follow the instructions on your cement mix to make a batch of cement. You’ll want to do this close by your post holes so you can pour the cement easily after mixing.
 
Lemony basil pesto
Sink 4×4 Posts and Pour Cement
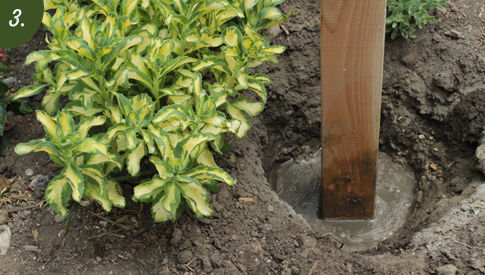
Lower a 4×4 post into the hole, then pour in enough cement to weigh down the post in the ground. While the cement mixture is still pliable, use a level to make sure that the post is standing straight. Once the cement mixture is solid and the post stands independently, repeat the process for the second post.
attach cross bar
Attach the Bottom Crossbar
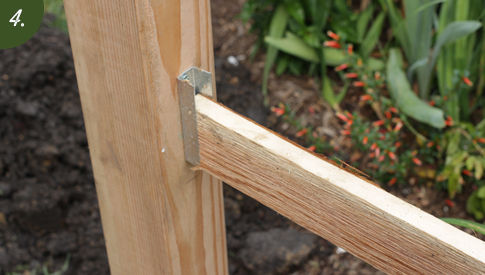
Once both posts are sunk and buried in the ground, use screws to attach the metal braces on facing sides of the posts, at the same height (around 6-8 inches from the ground) Fit the 1”x2” crossbar into the braces and secure it with screws.
attached top cross bar
Attach the Top Crossbar
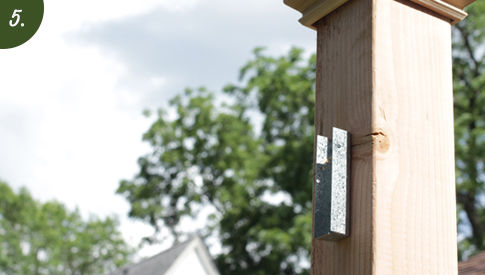
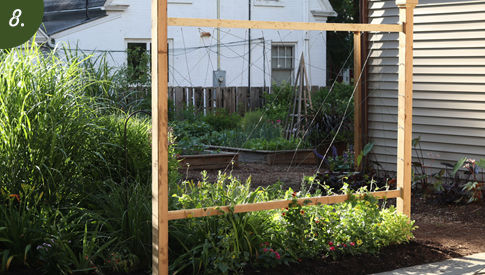
Install metal braces for the top crossbar. You’ll want it to sit about 6 inches below the tops of the vertical posts. After you’ve fit the 1”x2” bar into the metal braces, secure it with screws. You can also pop on the decorative cap pieces.
install eye screws
Install Eye Screws
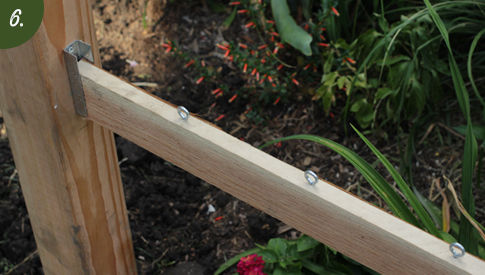
Screw eye screws into the crossbars at six inch intervals. The screws go into the top of the lower crossbar, and into the bottom of the top crossbar so they face each other.
thread garden wire
Thread Garden Wire Between Eye Screws
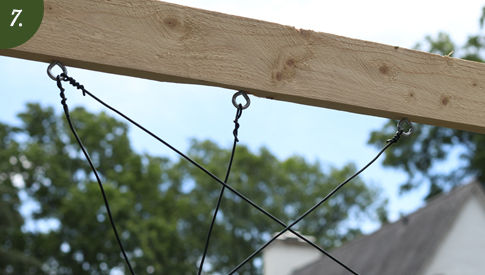
There’s no real science to this one. Tie lengths of the wire between eye screws in as many directions as you like. The more criss-crossing wire the better! The wire will give the climbing thunbergia something to cling on to.
plant thunbergia plants
Plant Three Gallon-sized Thunbergia Plants Beneath the Wall
Three gallon-sized thunbergia planted in a row beneath the frame will grow in nicely. Thunbergia is pretty low-maintenance. It loves a lot of sun, and grows very quickly. Within two months, your frame will be entirely grown in!
thunbergia wall
 
Back to Top

Find plants you love and create idea boards for all your projects.

To create an idea board, sign in or create an account.