
AquaPots® How to Assemble
![]()
|
AquaPots® Lite Planter Assembly
Assembling your AquaPots Lite self-watering container is quick and
easy!
Why should I use waterproofing sealant on my AquaPots?
Answer: Unglazed terra cotta is a porous material that absorbs water
unless it is sealed with a glaze or waterproofing spray. That becomes
an issue if you live in a colder climate that experiences freezing
temperatures in the winter. If the walls of the terra cotta planter
contain moisture, the water will expand when it freezes and cause
cracking. |
|
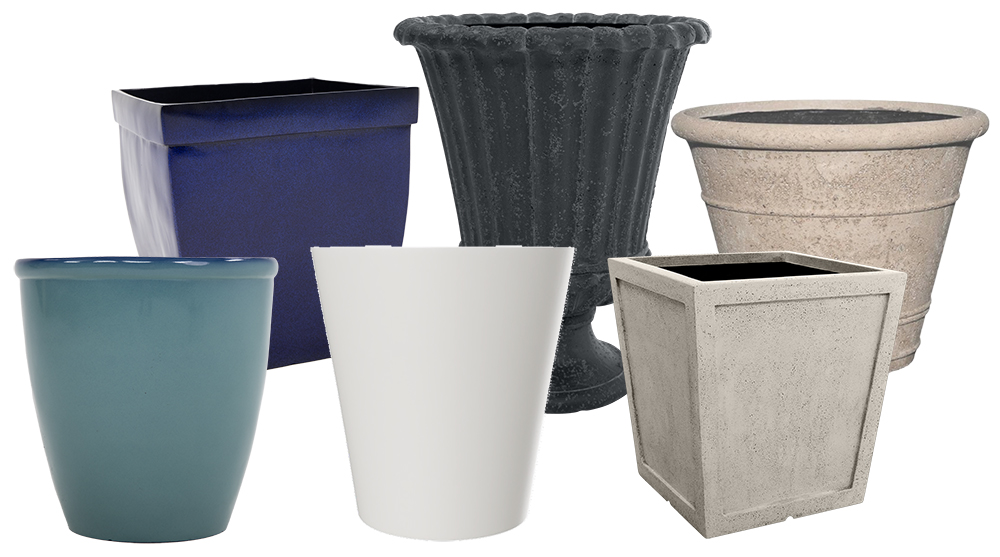
AquaPots Lite™ Planter Assembly
Our lightweight planters pair perfectly with our self-watering
insert
*Square pot adapter sold separately. |
|
AquaPots® Insert Assembly
Your AquaPots insert comes pre-assembled to make it quick and easy to
turn
|