Bigger Really IS Better, Tips on Container Gardening
Learn how your choice of container and soil and correct watering and fertilizing practices will produce great planters.

Everyone loves to have beautiful containers of plants around their home and garden and it seems like we all know someone who just has a knack for having great containers. Years of trial and error and access to people with great knowledge in container gardening have taught me a few tricks of the trade. One of the things I love about gardeners is their willingness to share ideas, knowledge, and more often than not plants with their fellow gardeners. In that tradition, here are my container gardening tips for great results.
You probably already know the typical things. Like, plant sun plants with sun plants and shade plants with shade plants. Choose plants that have similar water needs (no cacti with those water plants.) Choose something that spills over the edge and something with height and something that fills in the middle ground. But do you know the other little things you can do to help your planters thrive?
Here are my tips for creating and maintaining great containers:
Pots:
Anything that can hold soil and has a drainage hole can be used as a pot. However, small containers will need to be watered more often. When the temperatures start reaching 97 degrees; in the shade you may need to water a small container more than once a day.
If you want easy - large containers are better. Large containers have larger soil volume so the plants won't need to be watered as often. More soil also means your plants can grow a bigger root system. Plants with lots of roots tend to be healthy, happy plants.
What kind of material your pot is made out of will also impact how quickly the soil dries out. Clay pots and cocoa fiber/moss lined containers will dry out more quickly than plastic or glazed pottery. Plastic and glazed pots are slower to dry because water doesn't evaporate through their sides.
Water:
I've already briefly touched on water above and I've written two articles that talk, in depth, about watering container plants as part of container gardening tips. Those articles are: Water Your Way to Happy Plants and Wait, That Plant is Drowning. The basic tips are water your container when the top of the soil is dry to the touch. Water until some liquid comes out of the drainage hole in the bottom of the pot. Be careful not to over water when the temperatures are cool. Keeping soil too wet will cause disease problems. Large planters are especially vulnerable to staying too wet because of their large soil volume. All of that soil makes things easier in hot weather, but it can make things a bit more difficult in cooler weather.
 Soil:
Soil:
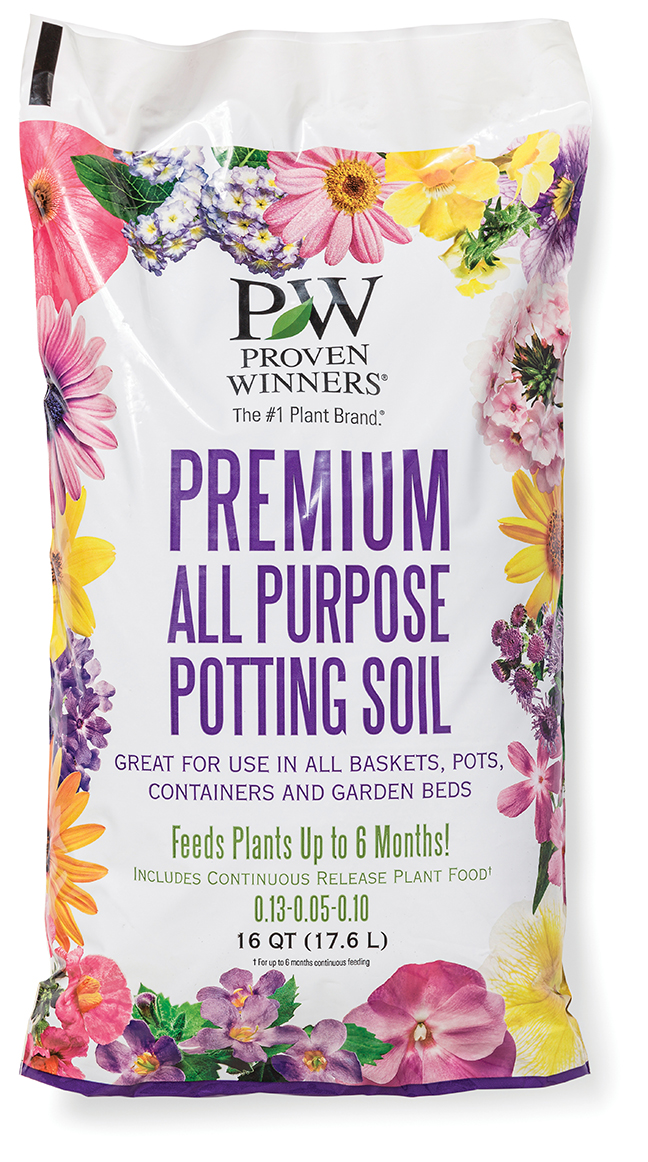
Be sure to use a good, light potting medium. Potting soil is formulated to have a good ratio of water holding capacity and air space (roots need air space to be happy). Fill the container completely with soil, leaving some space between the top of the soil and the top of the pot (this is sometimes referred to as head space). In large container gardens, you can leave up to 2 inches;in smaller pots you might only leave ½ inch. I realize that filling large planters with potting soil can be a bit pricey, however, that additional soil volume will really help give your plants a boost. The photo below shows roots throughout the soil of this 18-inch diameter planter. The photo was taken in October, the container was planted in May.
A plant with many roots is a happy plant.
Pour or scoop soil into your container. Do not pat the soil down, this is unnecessary and will actually negatively affect your plants. Once you fill the planter simply wet it down, gently with water to settle the soil and add a bit more if necessary. One tip to save you time, fill your pot to the top, by the time you plant and then water the plants in, the soil should settle just enough to give you the head space you need in the container.
Do you really need to replace all of the soil every year? It is best to replace all of the soil every year, but if last years plants were healthy and you have very large planters, you can replace the top half of the soil with new and leave the bottom half for one more year. Be sure to replace all of your soil at least every other year. If your plants had disease problems the year before, it is best to completely replace the soil. You should also thoroughly clean your container at the end of the season or prior to using it in the spring. This will decrease disease problems.
Fertilizer:
Fertilizer is essential for having the best possible containers of plants. The easiest way to provide fertilizer to your plants is to incorporate a slow release fertilizer into the soil when you plant your container. If you buy an already planted container or if you forgot to incorporate the fertilizer, you can top-dress (spread the fertilizer on top of the soil) with it. Slow-release or controlled release fertilizers will generally provide nutrition for 2 to 3 months.
As your planter gets larger and time goes on you will probably want to augment the slow release fertilizer with regular applications of a water-soluble fertilizer. Six weeks to 2 months after planting, I usually start using a water-soluble fertilizer once every week or so.
You can also skip the slow-release fertilizer and use a traditional water-soluble fertilizer from the beginning. Generally, you would apply a water-soluble fertilizer every week or every other week while watering your containers. Read the directions on your fertilizer package for specific application instructions.
Your planters will likely grow along doing reasonably well without fertilizer but to maximize their potential you should fertilize regularly.
For more information on fertilization, click here.
Number of Plants:
There are two basic container gardening tips to plant a combination. The traditional planting and the "living plant arrangement." Traditional planting is when you allow enough room between plants that the containers looks full after 2 to 3 weeks of additional growth. Generally, I would use 3 or maybe 4 plants in 10 or 12-inch planters; 5 to 8 plants in 16 to 20-inch planters and so on. This article has more information on how many plants to use and where to place them within the planter.
 With the traditional planting you need to have a bit of patience to get a completely full planter. However, the plants will be healthier since fewer plants mean better root growth. Less crowded containers also have better airflow around the plants. Better airflow will help foliage dry faster, which will decrease disease.
The living plant arrangement is when you place as many plants as possible into each planter. This allows the container to look full immediately after planting. However, since living flower arrangements are crowded; they tend not to have as much longevity and often have greater disease problems. Living flower arrangements can be really useful if you need to have a high impact container immediately, say for a party the weekend you are planting.
One last little tip; if one plant starts to takeover a container feel free to trim it back to give the other plants room to grow. On the other hand, if you are like me, you can let your plants duke it out, a veritable microcosm of Darwin's survival of the fittest.
When it comes to caring for containers, hanging baskets have their own special challenges. For information specific to hanging basket care click here.
