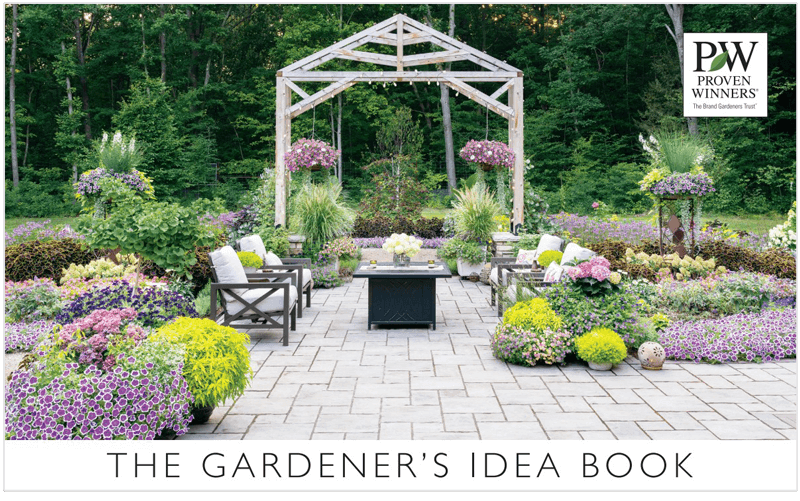

Movin' On Up
This article covers the basics of building and utilizing raised beds for gardening.

Have you been trying to establish a garden at your home with no success? Have you started to feel like you must have the worst black thumb known to gardening? Are you frustrated and ready to throw in the towel for good? Before you give in, stop blaming yourself, it could be your soils fault.
Good soil is the foundation for every good garden. Great soil goes a long way towards making a great garden. However, not everyone is blessed with good soil. In fact, if you live in a newer housing development or even hired a builder to build you a custom home, you may have really bad soil in your yard. Even if you live in an area that generally would have great soil. How does this happen? Builders are most interested in building your home quickly and efficiently. They aren't necessarily interested in making sure that you will be able to have a nice garden or landscape.
Topsoil which is the upper layer of soil that you plant in, varies in-depth from place to place. It will almost always be less than a foot deep and can be as little as 2 inches deep. When we talk about soil, we are really referring to topsoil -- it is a precious commodity. Often, unless a builder is specifically asked to preserve the topsoil, they will simply dig up all the soil, letting it mix together willy nilly. Once the basement is dug and the house is built, they simply smooth out all the soil, never thinking about making sure the topsoil is on top.
This makes it much harder to garden. Subsoil simply has no organic matter, which is necessary for good soil and plant growth. If you are building a home and know you want a garden, I would highly suggest that you ask your builder to preserve your topsoil and make sure that it is left on top, where it should be. This will cost you a bit more, but will make your gardening life much easier. Even when topsoil is present, it can be very compacted from being run over by heavy equipment. Very compacted soil can be just as hard to deal with as no topsoil.
Options to Deal with Bad Soil
The soil in much of my yard is pretty good, clay soil to be sure, but fairly good. However, the flower beds around the porch do not have good soil. It is obvious to me that when our house was built, they simply back-filled whatever soil was handy into these beds. They are clay, gravel and rock. So far I have dealt with it by adding massive amounts of compost and trying to laugh at the rocks. Compost is the number one option for improving soil. The amount of compost it takes to improve really bad soil can make this option difficult
My husband keeps talking about removing the existing soil and replacing it with good topsoil, which we would buy. This is option number two. You can buy in good topsoil and either replace your existing soil or add the good on top of the bad. This is certainly an option, but it can get expensive if applying to a large area.
Option number three is to build raised beds for your main planting areas. Raised beds have many benefits including great drainage, a defined area for weeding, not having to bend as far to do gardening chores and the ability to have complete control over your soil. These can be great for people who are physically unable to garden at ground level. They are a great way to grow vegetables and fruits, but they can also be used for flowers and other ornamentals. Raised beds are usually more intensely planted than a traditional vegetable garden, the result is a greater amount of produce from each square foot of garden.
 Raised beds can be many different heights, some are as little as 8 inches tall while others can be several feet tall. Your raised beds can be pretty much any length you want, but you will want to limit the width of the beds. If you will have access to your bed from both sides, you should be able to comfortably reach to the center of the bed, 4 feet is a good width. If you are only going to have access from one side, you want to be able to reach to the back of your bed, 3 feet is probably about as wide as you'll want to go.
Generally, while doing regular garden chores you will stay on the outside of your raised bed. This will help keep the soil light and fluffy - plants love light, fluffy soil. Keep this in mind while planning your garden beds.
Options for Raised Beds:
Raised beds can be very simple or rather elaborate and can be built out of a variety of materials. For simple raised beds, 2 by 12's (or 10's, or 14's), concrete blocks, and landscape timbers are all good choices. Look around for materials that can be recycled into raised beds-use your imagination. Railroad ties, due to the creosote treatment, should not be used.
Metal corner pieces can be used to help reinforce the beds. If you are using wood, you will want to add reinforcement to keep the long sides from bowing out due to the pressure of the soil. Putting a 1 by 2 as a reinforcement across the bottom of the bed every 3 feet will help stabilize the bed and prevent the bottoms of the sidewalls from being pushed out by the weight of the soil.
Beds that are 4 feet wide by 6 feet long should have one reinforcement piece in the center of the bed. If you are putting in a grid system of raised beds you may want to use some type of mulch between the beds. This will decrease the weeds you need to pull and also make walking between your beds after a rainstorm much more pleasant.
Simple concrete blocks bed can be any length but keep they about 4 feet wide and 3 feet tall. PVC pipe can serves as a frame for the bed cover. Use a light screen or tulle keep the birds from getting your strawberries and other goodies. The bed utlizes rebar driven into the soil and wire to help stabilize the concrete blocks.
Landscape timbers, stacked two high, can also be used to create a rectangular bed, but it will only about 8 inches deep. Beds can also be constructed from brick, rock or decorative concrete blocks. There are many options--so be creative. As opposed to the more utilitarian raised beds we've seen so far, raised beds can also be very ornamental.
Once you have built your raised bed it is time to fill it with soil. Obviously, there are all kinds of soil mixes that you can use to fill your beds. If the reason you have decided to elevate your garden is primarily due to poor topsoil, it would be wise to buy in fresh soil from a reliable vendor and start anew. It is always tempting to use what you have, but if you start with poor soil, you will end with poor soil.
If the reason you choose to install raised beds is for convenience and/or perhaps to achieve the aesthetic look and feel of a minimalist garden, then you can use your existing topsoil. However, if you need to improve your soil, now is the time. If you’re digging, you should amend! My feeling is that anytime you are shoveling your soil and digging into your garden, you should take the time to add additional humus or compost, after all why shovel and turn your soil more often than you have to?
I prefer to add one shovel full of compost to every three shovels full of topsoil when filling a raised bed. Once the soil is mixed with the compost, I also add a 3” layer of peat moss to the soil in the raised bed and then turn one final time. This allows for greater root penetration into the raised garden soil and also decreases irrigation frequency since peat moss increases water holding capacity.